It’s March! A new month and a new theme; Retro crafts will be my focus for the next few weeks where I’ll hopefully introduce a few cool gizmos that’ll make your crafting life much easier as well as creating at least one really nice accessory for my camper van and the odd, gorgeous household item in the process!
Let’s kick the proceedings off with something steeped in 70’s nostalgia – Flower Looms.
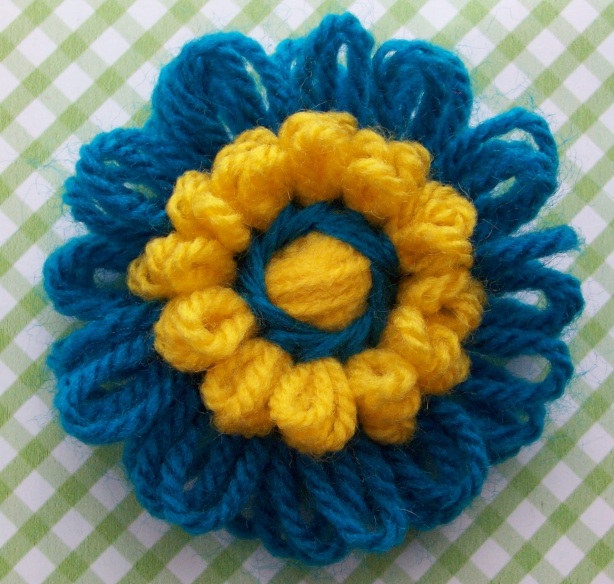
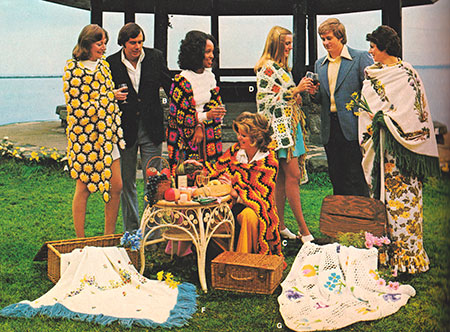
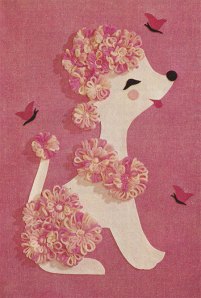
How positively delightful! Floral, feminine and flouncy – I’m sure you’ve probably come up with a few f-words yourself already 😉 Let’s look at a few more examples and really get to grips with this whole flower thing……

I could actually see this sort of thing coming back in a big way in 2012! I feel a summer collection coming on…!

RONCO – Bringing gizmos and gadgets to the crafting world. May the Lord bless ’em and keep ’em safe!
Right! That’s enough of that – Here’s a tutorial…..
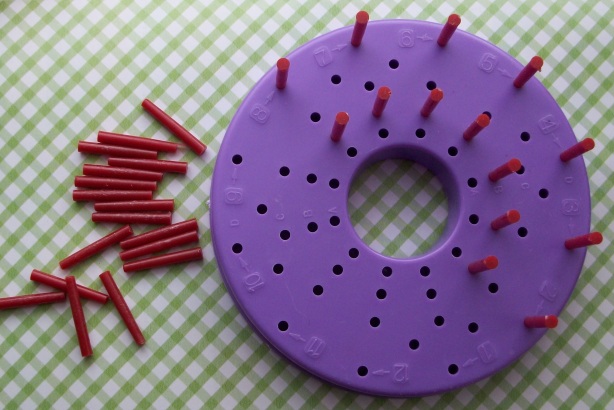
First of all you’ll need a flower loom; I’m using one with movable pegs as my weapon of choice where different configurations will yield different styles and sizes of flowers.
Look closely and you’ll see that it’s numbered at the edge – This shows you where to start and which direction to take.
Now are you ready?
1. Take a ball of DK weight yarn in the colour of your choice and grip the end firmly between your fingers. Pull the yarn out to arms length, and measure a tail that reaches from your extended arm to your nose. It’s important to remember to do this – Your going to use this ‘tail’ to secure everything in place when we reach stage 4.
2. Starting at the peg nearest position one of the outer edge of the loom, wrap the yarn in a figure of eight loop between this and the corresponding outer edge peg on the other side. Do this about four times before moving on to the next set of pegs, repeating the process all the way round until you arrive back at the beginning.
So far, so good? Here’s a tip – Once you’ve started wrapping your yarn, pull that long tail through to the other side of the loom so that it doesn’t get in the way
3. Using a second ball of DK yarn in a contrasting colour, virtually the same process is repeated all over again with the inner ring of pegs. Please note that you don’t have to measure out an arm to nose length of yarn in this step – 6 inches of excess yarn is ample at this stage.
4. Now we’re going to secure everything in place. Thread the end of your tail of yarn through a nice big darning needle. Starting at peg one, bring the needle through from the back of the loom and in between the outer ‘petals’ of your flower and stitch in to the centre. Following the direction of the arrows, use a simple backstitch to secure all the wrapped yarn in to place.
5. Bringing the yarn through from the back of your work again we’re going to work one more round of stitches to make everything look pretty. But still using a backstitch, we’ll work over a span of three petals each time until we get back to the beginning.
6. The flower is pretty much complete – Just remove the pegs to release it from the loom.
7. Give your flower a little ‘fluff’ to release the petals. Thread any loose tails of yarn through to the back of your work and secure. Bury any ends in the centre of your flower.

All done and dusted – Now I just need to make a small mountain of these to join together for my latest bed throw in the camper van!
Ain’t they lovely!
I’ve usually made them into quick brooches; Here’s one of my lovely nieces modelling a few from late 2010:

Poor Sash! Dragged all over the place to model for the Big Blue Bully Bus – This time it was just down the road from me at Kirkstall Abbey, Leeds. She’s a trooper, bless ‘er!
But this time, I’m going to make a huge stack of them to turn into a new bedspread for the bus! All thanks to the lovely lady behind knitting-and.com – http://www.knitting-and.com/small-looms/index.html and the oodles of hints, tips and inspirations she’s gathered together. She lives around and about the environs of Wollongong, Australia – possibly just round the corner from my lovely sister in law and her husband who love our Dak Dak (1963 splitty) to bits. Please take a few moments to visit her website if you can – it’s just brilliant!
Next week I’ll be introducing another gizmo that I think every crafter should have in their arsenal and also hopefully be giving you an idea for an ultra quick and easy to make Mother’s Day present – You’ll need a needle and thread and some scraps of fabric…… amongst other things. I’ll say no more, I’m planning a trip out with the dogs and Mr Other Half in the bus before I spill the beans……. until then, Happy Crafting!


